I recently installed Revit Arch 2014 onto my machine. I put it on my Dell Precision M4300 laptop 32 bit (forgive me). So I created screen caps along the way and wanted to share them for those that may be new to Revit and looking to start at the very beginning. I installed from download and not media. The download took a while and actually stalled twice before I got the entire install file to work. The download is 2.7 Gigs and it took a while for me to get it. The download included 32 and 64 bit install files.
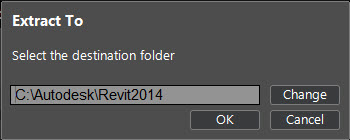
So after I got a stable install file I launched it. The first thing it asked is where do you want to extract the install files. I put it in a Revit2014 folder that I created for the process. You can use the default, but I changed it just for kicks.
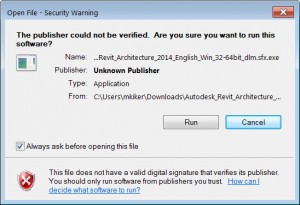
If you get the dialog box below – don’t panic. Just say yes and continue. This may have come up since I had trouble downloading the install file. Other installs that I have done do not have this dialog box.
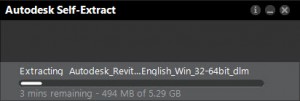
The file will extract.
Once unpacked the folder was 5.4 gigs. 1.8 GB of that was the 64 bit files and 1.07 GB of content.
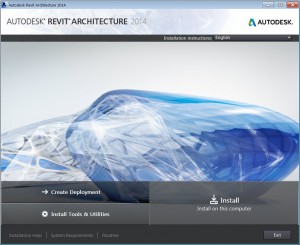
After the unpack is complete, the setup process starts automatically.
Choose Install to move forward.
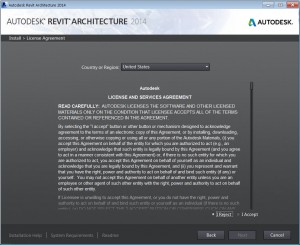
When the install starts you have to first agree with the License and Services Agreement. Like others, I do not read this stuff, but I have in the past. Not that we really have an option. If you want to install the software, you have to agree.
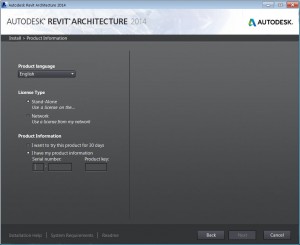
You will have to decide on the licensing model you want. I chose Standalone for this install. You also need to input your serial number and your product key.
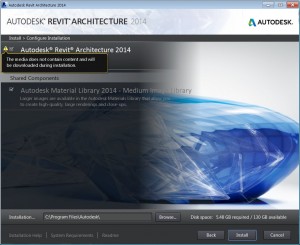
When I started the install I got an Alert related to missing content. It stated that there would be some downloads during my install for missing content.
After reading that I opened the install settings to see what I might be missing.
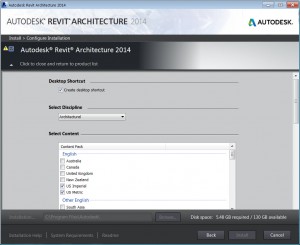
There was nothing that really stood out but I did notice that the install would actually include Service Packs if needed. Since mine was a download and not from older media – nothing was needed.
Another thing I noticed was the option to install Architecture or Construction. What this does is define the default templates used when creating new projects. Arch uses a commercial template and Construction uses a construction based one. They are mostly the same with some additional/differing views in each.
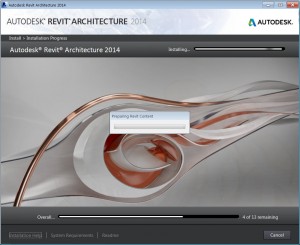
Once all of this is defined move on to the install and a progress bar.
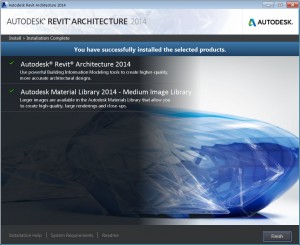
Once it is done, you will see the Finish screen. Click Finish.
Then go look for your desktop icon.
It should be that easy, but some of you may have troubles. Next we move to Activation.
